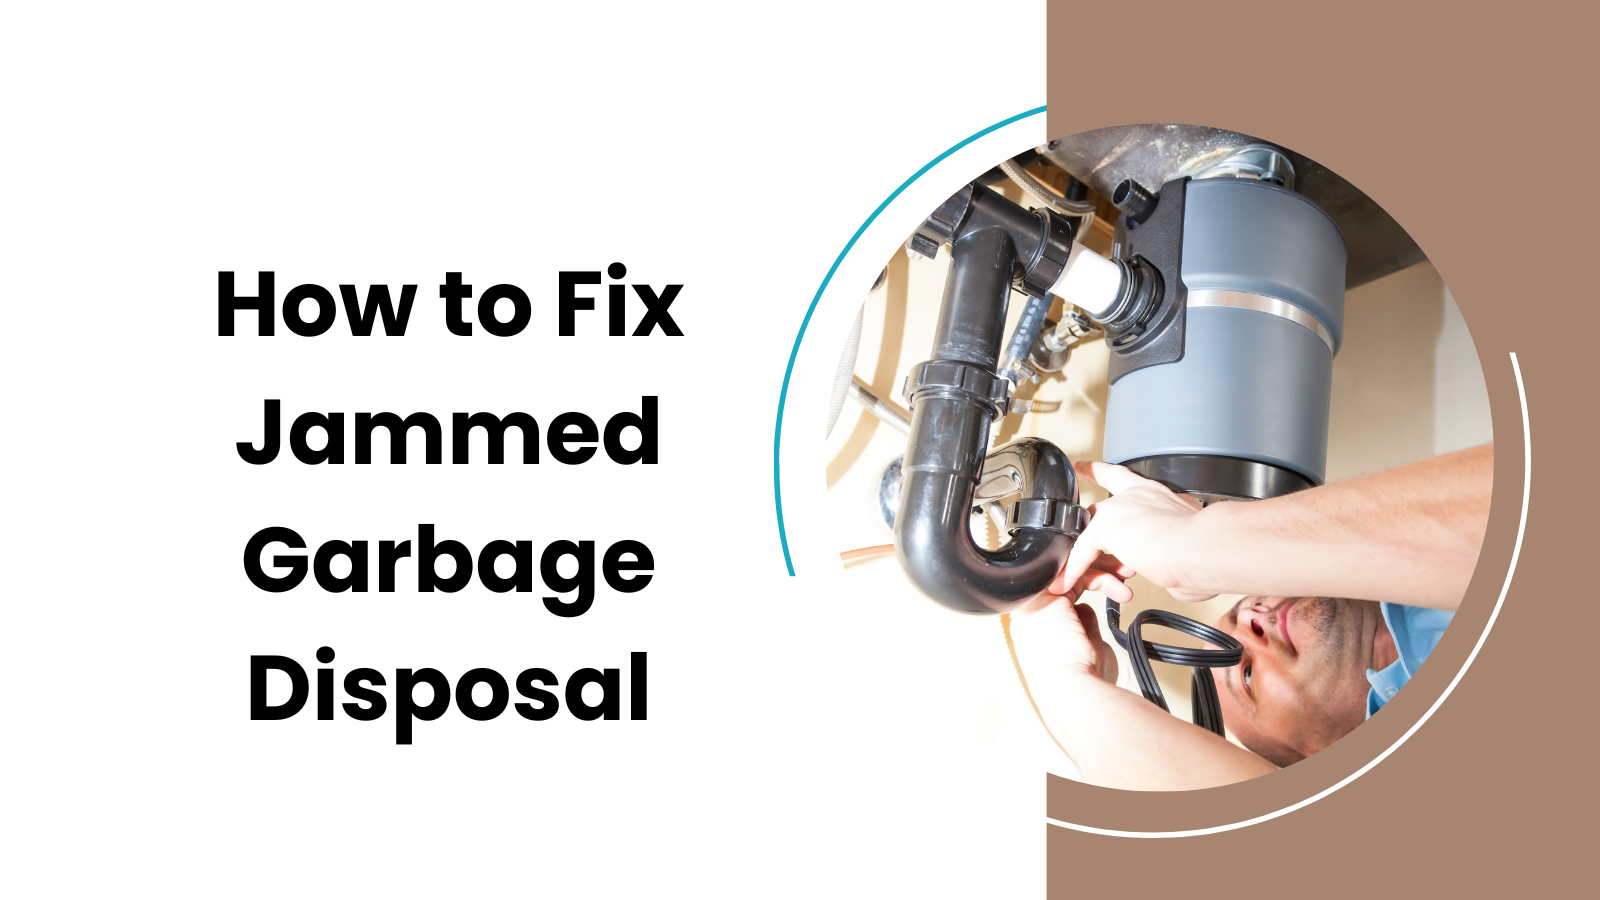
How to Fix Jammed Garbage Disposal
Ever had that sinking feeling when your garbage disposal jams up, and you’re stuck with a mess in the sink? It’s something many of us have faced, and it can be a real headache.
What do you do when this happens? How do you even start fixing it?
Here’s my step by step guide to Fix Jammed Garbage Disposal
Method 1: Check the Basics
Step 1: Turn Off the Power
- The circuit breaker box in your home, is usually found in the garage, basement, or utility room.
- Identify the switch that controls the garbage disposal and flip it to the “Off” position. This ensures safety while you work on the unit.
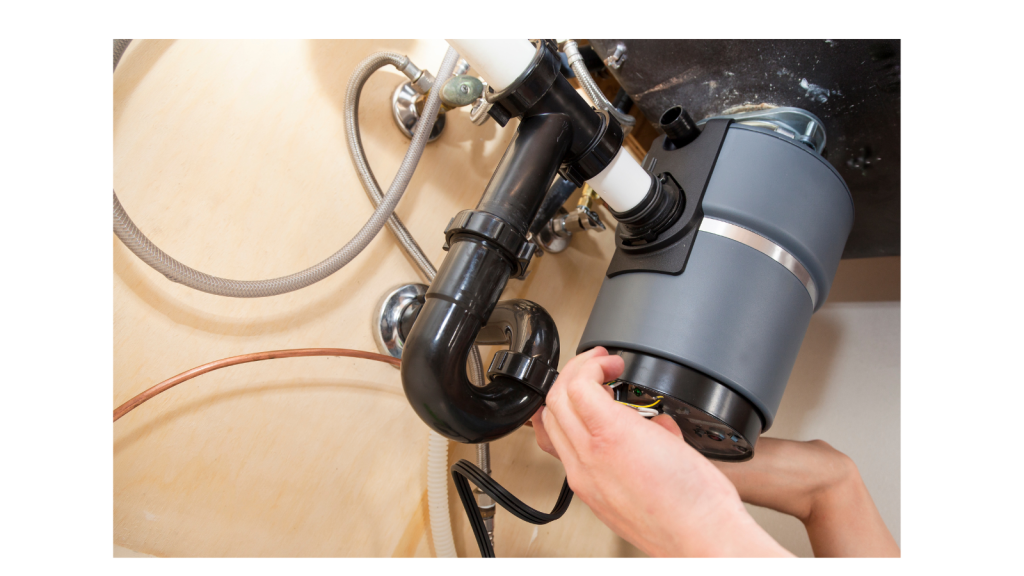
Step 2: Inspect the Disposal for Obstructions
- Shine a flashlight into the disposal to see if there are any obvious objects jamming the blades, such as silverware, bones, or other large items.
- Never reach into the disposal with your hands, as the blades are sharp.
Step 3: Remove the Obstruction
- If you spot an object that shouldn’t be there, carefully use pliers or tongs to reach in and remove it.
- Be gentle, as you don’t want to cause further damage to the blades or the disposal unit itself.
Step 4: Test the Disposal
- Go back to the circuit breaker and flip the switch to the “On” position.
- Turn on the cold water tap over the disposal.
- Flip the garbage disposal switch to the “On” position to see if it runs smoothly without any noises indicating a jam.
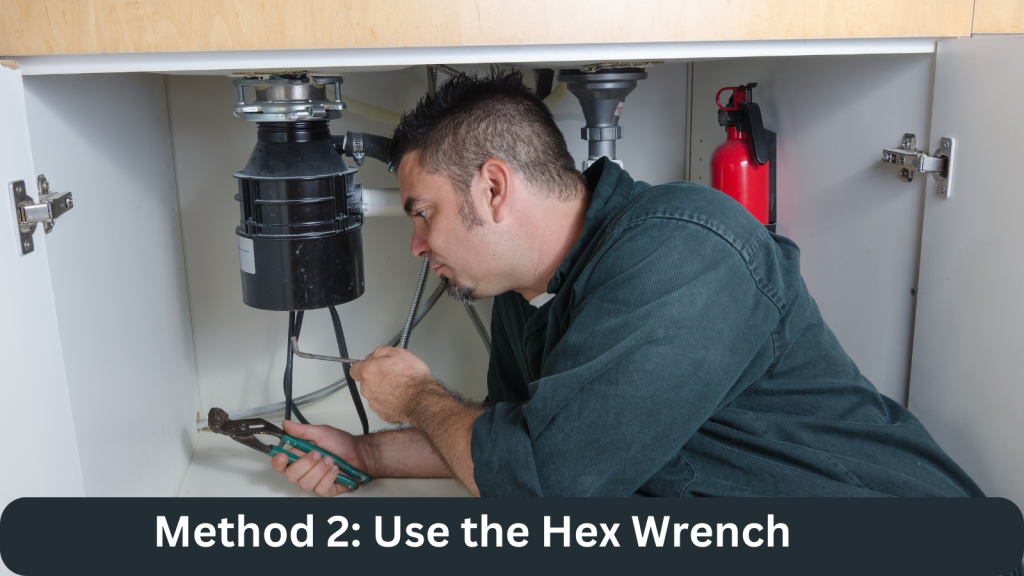
Method 2: Use the Hex Wrench
Step 1: Turn Off the Power
- Ensure that the power to the garbage disposal is completely turned off at the circuit breaker to ensure your safety.
- Check that the disposal and any connected switches are not powered to avoid any accidents.
Step 2: Find the Hex Wrench Slot
- Under the unit, you will usually find a hex-shaped hole. This is where you’ll insert the hex wrench.
- Most garbage disposals come with a hex wrench specifically designed for this purpose. If you don’t have it, you’ll need a standard 1/4-inch hex wrench.
Step 3: Manually Turn the Blades
- Place the hex wrench into the hex-shaped hole.
- Gently turn the wrench back and forth. This should manually move the blades, helping to free any objects that may be stuck.
- If you feel resistance, work the wrench back and forth until the obstruction breaks free.
Step 4: Remove Any Loose Objects
- Shine a flashlight into the disposal and use pliers or tongs (not your hands) to remove any loose objects that may have been freed.
Step 5: Test the Disposal
- Turn the power back on at the circuit breaker.
- Turn on the cold water tap over the disposal.
- Switch the garbage disposal on to check if it runs smoothly.
Method 3: Use a Plunger
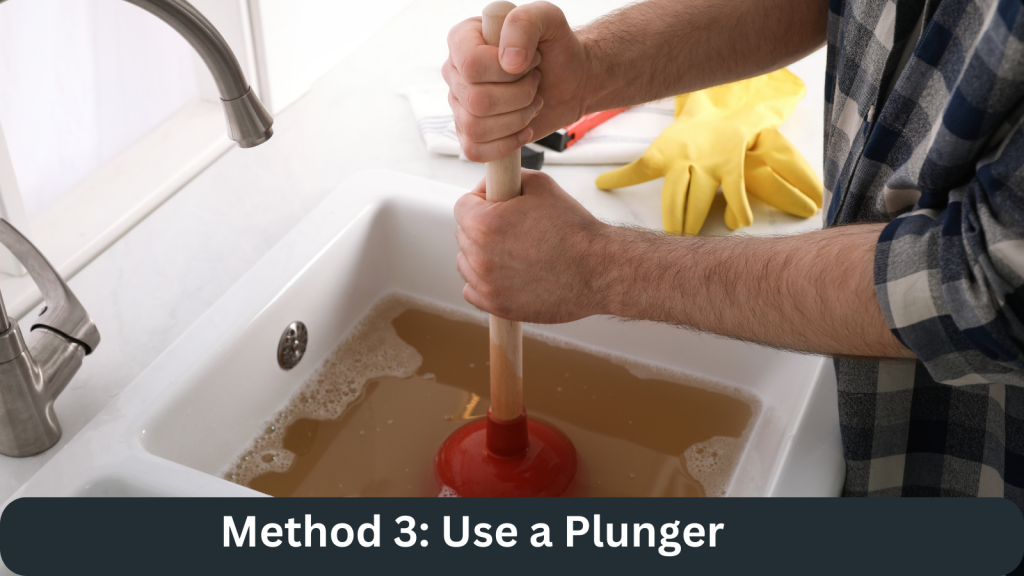
Step 1: Prepare the Sink
- Remove any dishes or objects from the sink to ensure they won’t interfere with the plunging process.
- If you have a double sink, make sure to plug the other drain to create a good seal.
Step 2: Fill with Water
- Fill the sink with enough water to cover the plunger’s rubber part. This will help create a strong suction.
Step 3: Position the Plunger
- Make sure the plunger completely covers the drain where the garbage disposal is located.
Step 4: Plunge Vigorously
- Press down and pull up forcefully on the plunger, using a consistent and rhythmic motion.
- Keep plunging for about 20-30 seconds or until the water starts to drain.
Step 5: Check the Disposal
- Use a flashlight to look into the disposal and see if you can identify any objects that may have been dislodged.
- If you see any loose debris, use pliers or tongs to remove them from the disposal. Never use your hands.
Method 4: Manually Rotate the Blades
This method requires careful handling, as you will be manually rotating the blades to dislodge the jam. Always ensure that the garbage disposal is turned off before attempting this method.
Step 1: Turn Off the Power
- Switch Off the Disposal: Locate the switch or the power source of the garbage disposal and turn it off. If possible, unplug it from the wall.
- Double-Check: Make sure that there is no power going to the disposal to prevent accidental activation.
Step 2: Find the Right Tool
- Locate the Wrench or Allen Key: Most garbage disposals come with a specific wrench or Allen key that fits the bottom of the unit. If you don’t have this tool, you may use a standard Allen key that fits.
Step 3: Insert the Tool
- Find the Manual Turning Slot: Look for a hole or slot at the bottom center of the garbage disposal. This is where you’ll insert the wrench or Allen key.
- Insert the Tool: Place the wrench or Allen key into the slot, ensuring a snug fit.
Step 4: Manually Rotate the Blades
- Gently Turn the Tool: Begin to turn the wrench or Allen key back and forth. This will manually rotate the blades inside the disposal.
- Feel for Resistance: You might feel resistance at first, but keep turning until it becomes easier. This means the jam is being cleared.
Step 5: Remove Any Debris
- Use Pliers or Tongs: Check inside the disposal for any debris and remove them with pliers or tongs. Never use your hands, even if the power is off.
Step 6: Test the Disposal
- Restore Power: Plug the disposal back in or turn the power back on.
- Run Cold Water: Turn on the cold water and run the disposal to see if the jam has been cleared.
The End
Fixing jammed garbage disposal might seem like a big challenge at first, but as you’ve seen in this post, there are several methods to tackle the problem. From simple resets to manually rotating the blades, we’ve walked through the steps that can help you clear the jam yourself.

![How to Set up a Home Server [Expert Guide]](https://www.automatedhomediy.com/wp-content/uploads/2023/07/How-to-Set-up-a-Home-Server-768x432.png)
![How to Calibrate Govee Thermometer? [Expert Answer]](https://www.automatedhomediy.com/wp-content/uploads/2023/09/Govee-Thermometer-1-768x432.png)

![How to Reset & Reboot Sonos Play 1 [A Quick and Easy Guide]](https://www.automatedhomediy.com/wp-content/uploads/2023/10/How-to-Reset-Reboot-Sonos-Play-1-768x432.png)