Eero Setup Guide for Gamers: Improve Gaming Speed and Connectivity
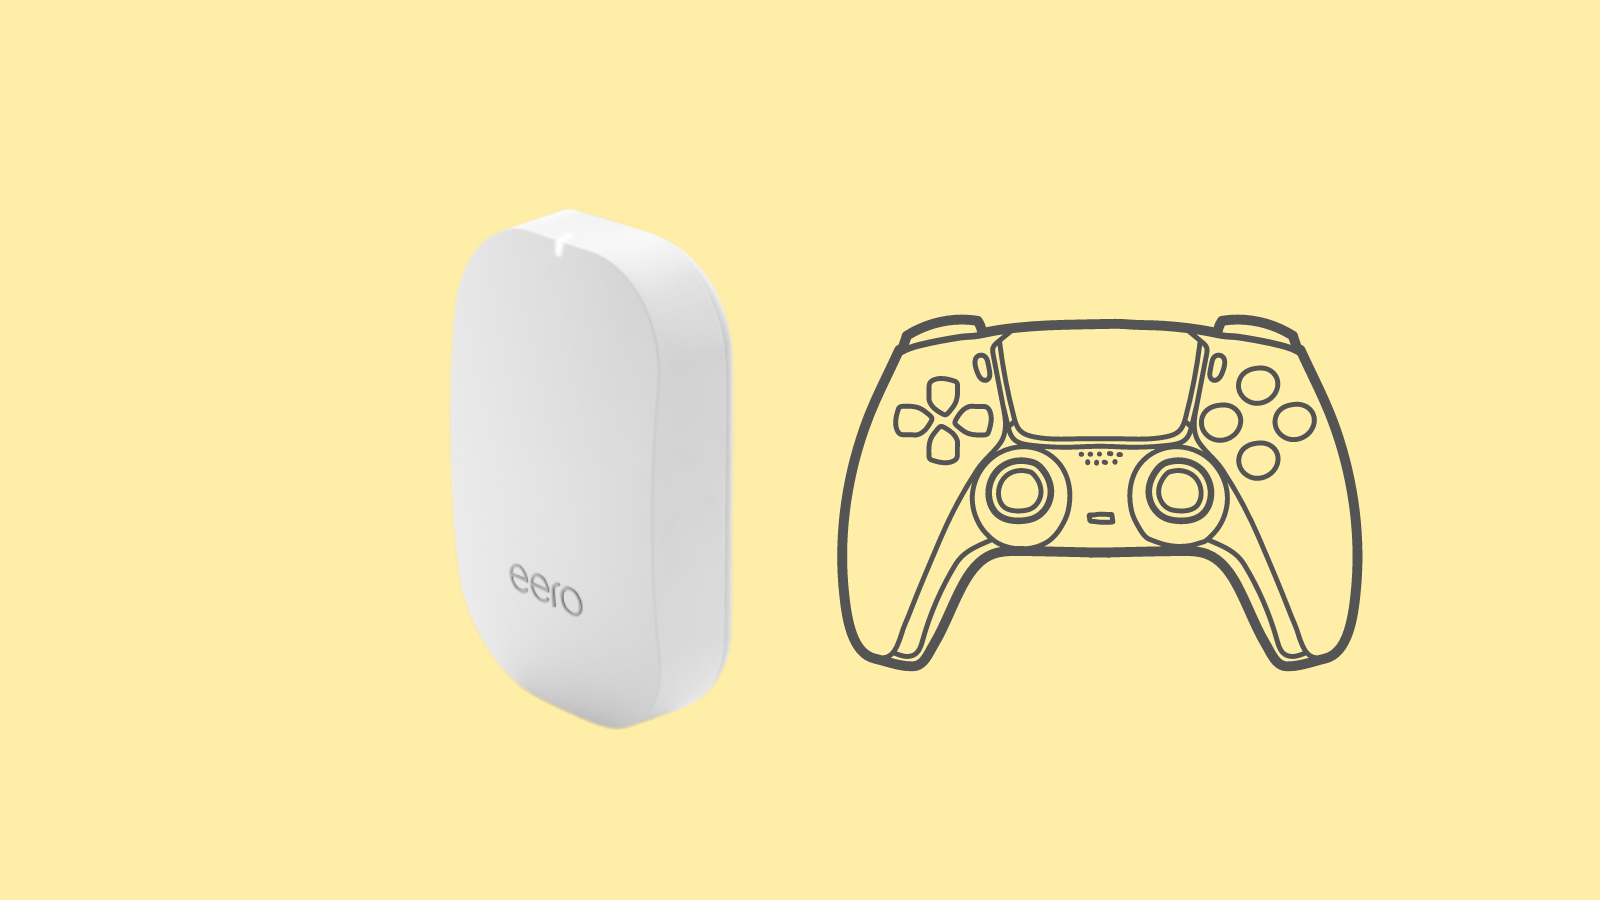
Eero stands out in the Wi-Fi industry, offering a powerful solution to enhance your gaming experience. With Eero, you can see speed improvements, reduce lags, and enjoy better connectivity. It’s perfect for gamers looking to get the most out of their online play.
To make sure you get top performance from your Eero setup, some adjustments are necessary.
Follow these recommended settings to ensure your gaming sessions are smooth and uninterrupted.

#1 Enable Quality of Service (QoS)
Quality of Service (QoS) is a feature available on most advanced routers like Eero, this feature manages the prioritization of different types of traffic on your network, ensuring that the most important traffic gets priority.
For gamers, enabling QoS is a definite advantage because it enables your Eero router to prioritize gaming traffic.
Enabling Quality of Service (QoS) also aids in reducing buffer time during streaming and ensures a better experience during video conferencing.
How to Enable:
- Open the Eero app on your smartphone.
- Tap on the ‘Settings’ option from the bottom menu.
- Scroll down to locate and select ‘Advanced settings’.
- Here, you’ll find the QoS setting. If it’s not on, turn it on.
#2 Create a Dedicated SSID for Gaming
SSID (Service Set Identifier) is the name assigned to a Wi-Fi network. By creating a dedicated SSID for gaming, you can separate your gaming traffic from the rest of your internet usage. This could be especially beneficial in households where multiple people are connected to the internet and using bandwidth for different activities simultaneously.
A dedicated gaming SSID allows your Eero router to focus its bandwidth and resources on providing the best possible gaming experience. Your gaming won’t be slowed down by other activities on your network, like streaming movies or downloading files.
How to Create a Dedicated SSID:
- Open your Eero app on your phone.
- Head over to the ‘Settings’ tab.
- Tap ‘Network Settings’, then ‘Advanced Settings’.
- Within Advanced Settings, select ‘Add a network’.
- You’ll then have the option to create and name a new SSID for your gaming.
- Once you’ve named your new SSID, set a password for it and tap ‘Create’.
- Finally, connect your gaming console or PC to the newly created network for dedicated bandwidth.
#3 Enable UPnP
UPnP, or Universal Plug and Play, is a network protocol that allows devices on a network to discover each other and establish functioning connections. For gamers, it’s particularly important because many games and gaming consoles rely on UPnP to forward ports, which allows you to play and communicate with other players worldwide.
Having UPnP enabled ensures that games requiring a direct connection are allowed to communicate freely with the gaming servers, removing the need for manual port forwarding. The main benefit gamers would notice is a smoother multiplayer experience and improved voice chat functionalities.
How to Enable UPnP:
- Launch the Eero app on your smartphone.
- Tap the ‘Settings’ tab found at the bottom of the screen.
- Scroll down to find and select the ‘Advanced settings’ option.
- Within Advanced Settings, you’ll see an option for UPnP. If it’s not on, turn it on.
#4 Reserved IP for Your Gaming Console
Assigning a reserved IP for your gaming console is another excellent way to optimize your gaming experience using Eero settings. By doing this, you ensure your console always uses the same IP address each time it connects to your network. This can be extremely helpful as changing IPs may lead to device conflicts and can interrupt your gaming experience.
Consistent IP addressing can also aid in port forwarding to your console, reducing lag and potentially improving gaming performance. Moreover, keeping a consistent IP prevents the console from losing connection to the router whenever the router’s DHCP lease refreshes.
How to Reserve IP:
- Open the Eero app on your device.
- Navigate to the ‘Settings’ tab and select ‘Advanced settings’.
- Select ‘Reservations & Port Forwarding’.
- Click on ‘Add a reservation’.
- Select your gaming console from the list of connected devices.
- Follow the prompts to assign a dedicated IP address to your console.
#5 Firmware Updates
Keeping your Eero router’s firmware updated is a significant step in ensuring optimal gaming performance. Firmware updates often include critical patches for security vulnerabilities and optimizations to improve the router’s performance.
A router with outdated firmware can lead to slowdowns, dropped connections, reduced range, and other issues that can impact your gaming experience. Regularly updating your Eero firmware can avoid these issues, optimizing speed and reliability which are critical for gameplay.
How to Update Firmware:
Eero has made it incredibly easy for users to manage router firmware updates. Eero routers are designed to automatically download and install firmware updates as they are released. This means you generally don’t have to worry about manually installing these updates yourself.
Ensure your router is up to date
- Open the Eero app on your device.
- Go to the ‘Settings’ tab and select ‘Software Updates’.
- The application will display the current firmware version and other update information.
#6 Use the 5GHz Band
If your gaming console or PC supports it, using the 5GHz wireless band can significantly improve your gaming experience. The 5GHz band provides faster data rates at a shorter distance, meaning its high speed and reliable connection make it perfect for gaming.
Some Eero devices broadcast in both 2.4GHz and 5GHz and intelligently shift devices between them based on the device’s needs, but you might want to ensure your console is specifically using the 5GHz band for the best gaming performance. While the 2.4GHz band has a better range, it delivers slower speed and experiences more interference from other devices.
How to Use the 5GHz Band:
Unfortunately, Eero does not offer the option to manually select between 2.4 and 5GHz bands, as it does this automatically. However, if you can, situate your gaming device closer to the router to improve its chances of connecting to the 5GHz band instead of the 2.4GHz band.
Alternatively, you can ensure your gaming device supports and is set to use 5GHz. The specifics on how to do this depend on your device, but it can usually be found in the device’s network settings.
#7 Bandwidth Settings
Contention for bandwidth can lead to slower gaming speeds, especially in households with a lot of devices connected to the internet. Adjusting your bandwidth settings can potentially improve gaming performance by limiting the bandwidth usage of other devices during your gaming time.
Consider setting rules for other family members to limit their heavy data consuming activities, such as streaming or video conferencing, during your peak gaming hours. This will ensure that your games aren’t impacted by other data traffic on your network.
How to Adjust Bandwidth Settings:
Eero’s router system uses adaptive algorithms to self-optimise for the best performance, meaning it doesn’t currently offer manual bandwidth allocation for certain devices. However, you can minimize heavy internet usage activities when you’re gaming.
If bandwidth contention remains a persistent issue, consider upgrading your internet plan or using wired Ethernet connections for high-bandwidth devices.
You could also consider creating a separate network specifically for gaming to segregate your traffic.
Follow the guide, and if you have any doubts, please let me know in the comments.
![Best Motion Sensors for Home Assistant 2023 [Tested & Reviewed]](https://www.automatedhomediy.com/wp-content/uploads/2023/08/Best-Motion-Sensors-for-Home-Assistant-768x432.png)