How to Calibrate Govee Thermometer? [Expert Answer]
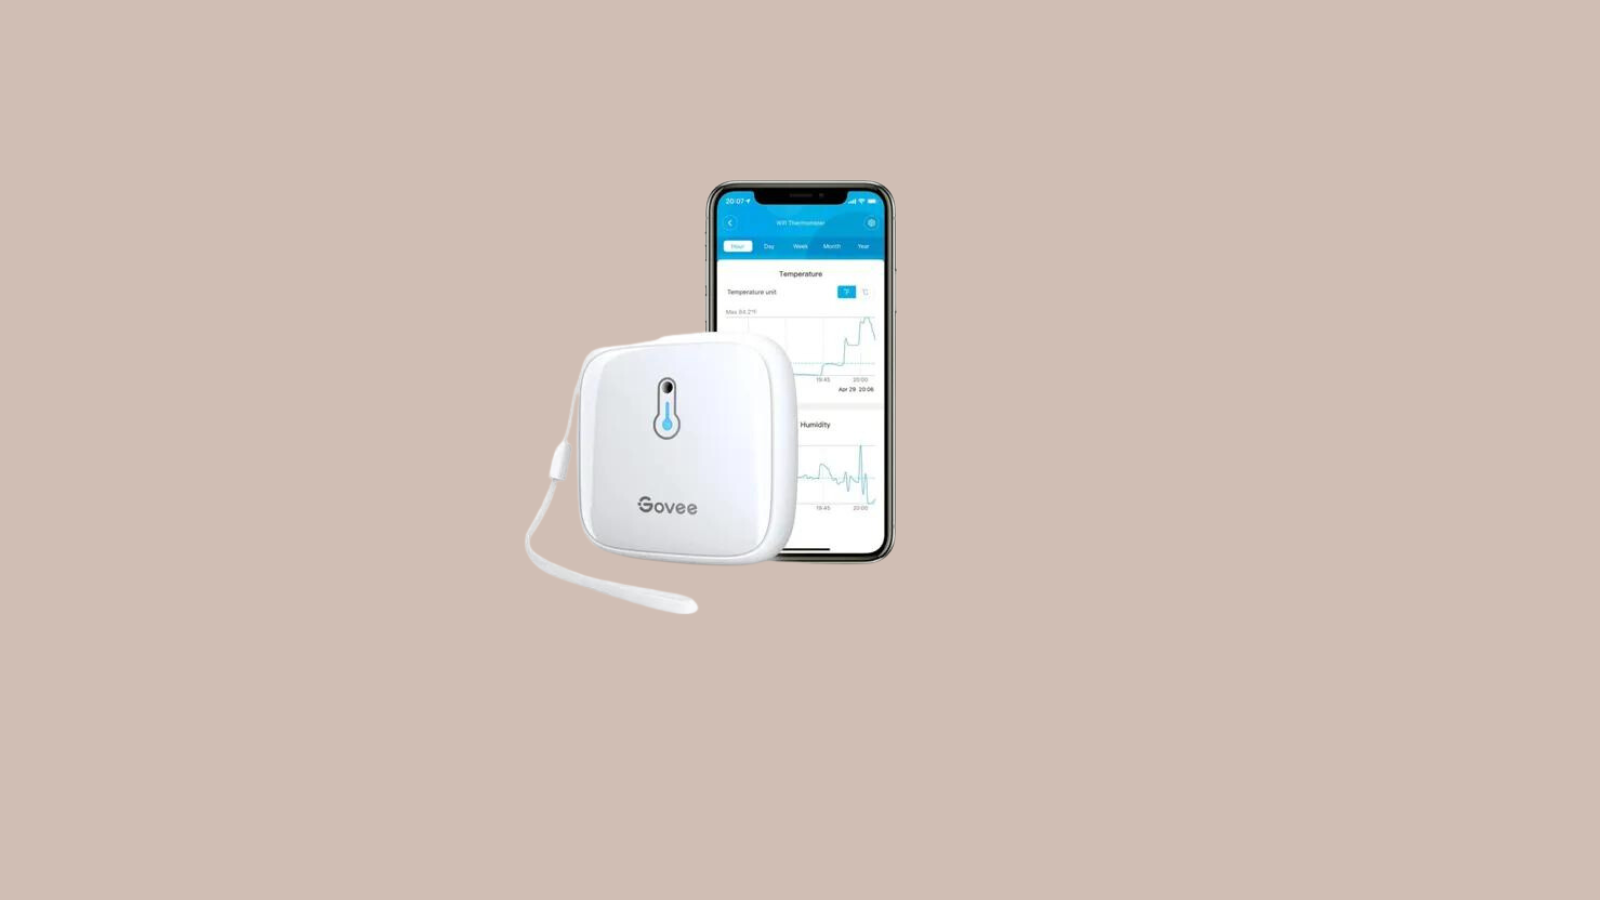
Govee Thermometer, have you got one? It’s not just any thermometer. It’s designed with some good stuff inside.
It can measure temperature with precision, so you’re always in the know about how hot or cold it is where you place it.
Got a room that feels off? This device can help you out. What’s more, it comes with some added features.
You get alerts if things go too warm or cold, and you can even check past data to see temperature trends.
Here’s a detailed guide on how you can calibrate Govee Thermometer
How accurate is the Govee thermometer?
This isn’t just a basic thermometer; it’s built with modern tech that aims for the bullseye when measuring temperatures. When you’re using it, the confidence it gives with its readings can be impressive. With a precision of ±0.5°F for the temperature, it’s pretty spot on. Say, if it shows 72°F, you’re likely experiencing a temperature close to that, give or take a bit.
Of course, with any device, there’s always a slight margin of error. It’s the nature of machines.
But from personal use, it’s clear that the Govee tends to be more right than wrong. Regular calibration ensures that it stays on track, providing that peace of mind when you’re checking out the digits on its display.
If you’re after a reliable tool for measuring temperatures, the Govee thermometer stands out. Not just for its sleek design or user-friendly interface, but for its ability to consistently give accurate readings.
How to Calibrate Govee Thermometer
Here’s a straightforward guide to get you on track.
Step 1: Prepare Your Govee
Make sure your thermometer is clean and free from dust. A simple wipe down should do. Then, switch it on and let it run for a couple of minutes. This helps to get a base reading.
Step 2: Get a Reference Point
For calibration, you need a reference. One common method is the ice-water method. It’s simple and effective. Take a glass, fill it with ice cubes, and then pour water over it, nearly to the brim. Give it a stir and let it sit for about three minutes.
Step 3: Place the Govee Inside
Once the ice-water mix is ready, place the probe or the thermometer’s sensing area into the glass, making sure it doesn’t touch the sides or the bottom. It should be right in the middle of the mixture.
Step 4: Wait for a Stable Reading
Leave the thermometer in the water for about two minutes. You’re looking for a stable reading. If it’s working correctly, it should read around 32°F (0°C).
Step 5: Adjust if Necessary
Now, if your Govee doesn’t show the expected temperature, don’t sweat it. Many models have a calibration button or an option in the app. Check your user manual. If it’s off, just adjust to get the correct reading. For some models, you might press and hold the calibration button until it blinks or beeps, then release it. It will then set the current measurement as the new reference.
Step 6: Double-Check
Once calibrated, you might want to check the accuracy once more. Just to be sure, right? Repeat the ice-water method. If the reading is now spot on or very close to 32°F, you’re all set.
Step 7: Safe Storage
After calibration, store the Govee thermometer in a safe place. Avoid extreme temperatures or high humidity areas, which could throw off future readings.
In the End
calibrating your Govee Thermometer is crucial for accurate readings.
Those few extra minutes you spend calibrating can make a big difference in trusting the readings from your device.
Key Takeaways:
- Calibration maintains accurate readings.
- The ice-water method is straightforward and works well.
- Your device’s manual will have specific calibration steps.
- Proper storage of your thermometer helps in maintaining its accuracy.
- Checking its readings from time to time is a good habit.
With this, I hope you’ve got a clear understanding of your Govee Thermometer.