How to Connect Roborock to Wifi [Android & iOS]
Setting up your brand-new Roborock vacuum can feel like you’re stepping into the future. This smart device, ready to keep your home clean and tidy, is a wonder of modern technology.
But, like all tech gadgets, it needs to be set up correctly to work its magic. One essential step is connecting your Roborock to your Wi-Fi network. It may sound tricky, but don’t worry – it’s actually quite simple.
But how do you get started? How do you transform this sleek piece of technology from a standalone gadget to a fully integrated part of your smart home?
So, whether you’re a tech guru or a novice, you can get your Roborock connected to your Wi-Fi. This guide will take you through it step by step
Does Roborock Support Wifi?

Yes, Roborock vacuum cleaners do support Wi-Fi connectivity. This feature allows you to control the vacuum remotely through a smartphone app. With Wi-Fi connectivity, you can set cleaning schedules, control the vacuum in real-time, change cleaning modes, and even view a map of the areas the vacuum has cleaned.
How to Connect Roborock to Wifi
Step 1: Download the App The first step is to download the Roborock application. You can find this in the App Store for iOS devices or Google Play Store for Android devices. Once you’ve downloaded the app, open it up and follow the prompts to create a new account.
Step 2: Connect Your Phone to Wi-Fi Ensure your phone is connected to your Wi-Fi network. Remember, the Roborock vacuum doesn’t support 5GHz Wi-Fi networks, so make sure you’re connected to a 2.4GHz network.
Step 3: Add the Device Once you’re logged in to the Roborock app, tap on the “+” icon in the top corner to add a new device. Choose your specific Roborock model from the list.
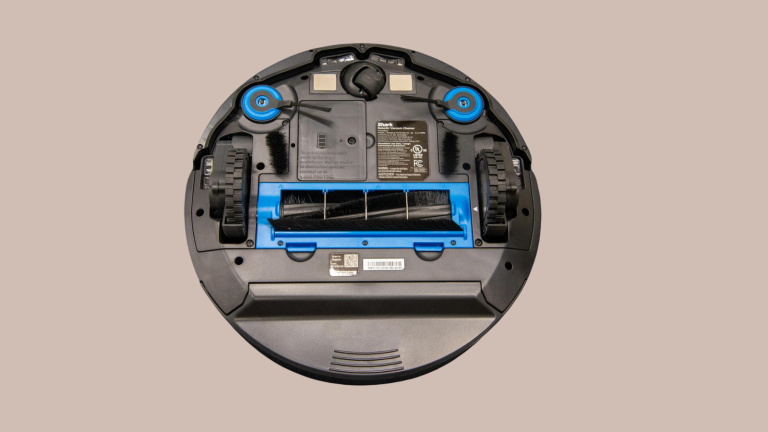
Step 4: Reset the Wi-Fi on the Roborock On your Roborock vacuum, press and hold the two outside buttons for 3-5 seconds, or until you hear the “Resetting Wi-Fi” voice alert. Once you’ve done this, check that the Wi-Fi indicator on the robot is blinking slowly.
Step 5: Connect the Roborock to Your Wi-Fi Network Go back to the Roborock app on your phone. Check the box that says, “Wi-Fi indicator light is flashing slowly” and click “Next”. Now select your home Wi-Fi network and enter your Wi-Fi password.
Step 6: Connect to the Roborock’s Wi-Fi On the next screen in the app, tap “connect to robot Wi-Fi”. In your phone’s Wi-Fi settings, connect to the network that starts with “roborock_vacuum…”
Step 7: Finalize Connection After you’ve connected to the Roborock’s Wi-Fi, go back to the app. You should see a screen saying that your device is connecting. Once all the items on this screen turn blue, tap “Use Now”. Wait for the device to initialize fully. This is done when the initialization reaches 100%.
How do I connect my Roborock s7 to Wi-Fi?
Step 1: Download the Roborock App
First, you need to download the Roborock app from your mobile device’s app store. If you’re using an iPhone, go to the Apple App Store. If you’re using an Android device, go to the Google Play Store. Search for the Roborock app, download it, and install it.
Step 2: Register for a Roborock Account
Once you have the app installed, open it and follow the prompts to register for a new account. You will be asked to enter your region and register using your phone number.
Step 3: Connect Your Phone to Wi-Fi
Make sure your smartphone is connected to a 2.4GHz Wi-Fi network. Your Roborock S7 cannot connect to a 5GHz Wi-Fi network.
Step 4: Add Your Roborock S7 to the Roborock App
Open the Roborock app and tap the “+” symbol to add a new device. From the list of devices, choose the Roborock S7.
Step 5: Reset the Wi-Fi on Your Roborock S7
Press and hold the “Dock” and “Spot Clean” buttons on your Roborock S7 simultaneously for a few seconds. Release the buttons when you hear a voice prompt saying “Resetting Wi-Fi.” The Wi-Fi light on the robot should start blinking.
Step 6: Connect Your Roborock S7 to Wi-Fi
Back on the Roborock app, check the “Wi-Fi indicator light is flashing slowly” box and hit “Next”. Enter your Wi-Fi network’s name and password and then tap “Next” again.
Step 7: Connect to Your Roborock S7’s Wi-Fi Network
On the following screen, tap “connect to robot Wi-Fi”. Go to your phone’s Wi-Fi settings and join the Wi-Fi network that starts with “roborock_vacuum…”. After this, return to the Roborock app.
Step 8: Wait for Your Roborock S7 to Connect
The Roborock app will show a screen saying it’s connecting to your Roborock S7. Wait for all three stages to turn blue and then tap “Start to use”. The device will take a few moments to initialize.
How do I reconnect my Roborock to a new Wi-Fi?
- Open the Roborock app on your mobile device.
- Select your device from the list on the main screen.
- Tap the three-dot menu icon at the top right of the screen.
- Choose “Wi-Fi Settings” from the menu that appears.
- Tap “Change Wi-Fi” and follow the instructions given by the app.
- Reset the Wi-Fi on your Roborock by holding down the spot clean and dock buttons together until you hear it say “Resetting Wi-Fi”.
- In the app, choose your new Wi-Fi network and enter the password.
- Wait for the Wi-Fi light on your Roborock to stop blinking and become steady.
- Once the connection is successful, your Roborock is now connected to the new Wi-Fi.
Why Roborock is not connecting to Wi-Fi? Fix
If your Roborock vacuum is not connecting to Wi-Fi, it might be due to these reasons:
- Wi-Fi Frequency: Roborock supports only 2.4GHz Wi-Fi. Make sure your router is not set to 5GHz only.
- Distance from Router: Your Roborock might be too far from the router. Try bringing them closer.
- Router Settings: Certain settings like MAC filtering or AP isolation might be blocking the connection.
- Wi-Fi Password: Double-check your Wi-Fi password for errors.
- Wi-Fi Overload: Too many devices on your Wi-Fi might cause issues. Try removing some.
- Software Update: Make sure your Roborock and its app are updated.
- Reset Wi-Fi: Reset your Roborock’s Wi-Fi.