How to Clean Roborock Sensor – A Step by Step Guide
You know, that small machine that’s been a life-saver around our homes. Just like all the good things, it needs a bit of love to keep shining in its job.
The sensor in our Roborock, it’s super important. It’s the Roborock’s guide, helping it weave around without knocking into everything.
If it gets dirty, well, our little helper could get all mixed up. It might start a bumping spree or just wander off. So, it’s pretty wise to clean it now and then. In this piece, I’ll walk you through it. It’s easy-peasy and won’t take up much of your time.
How Can I Find Roborock Sensor
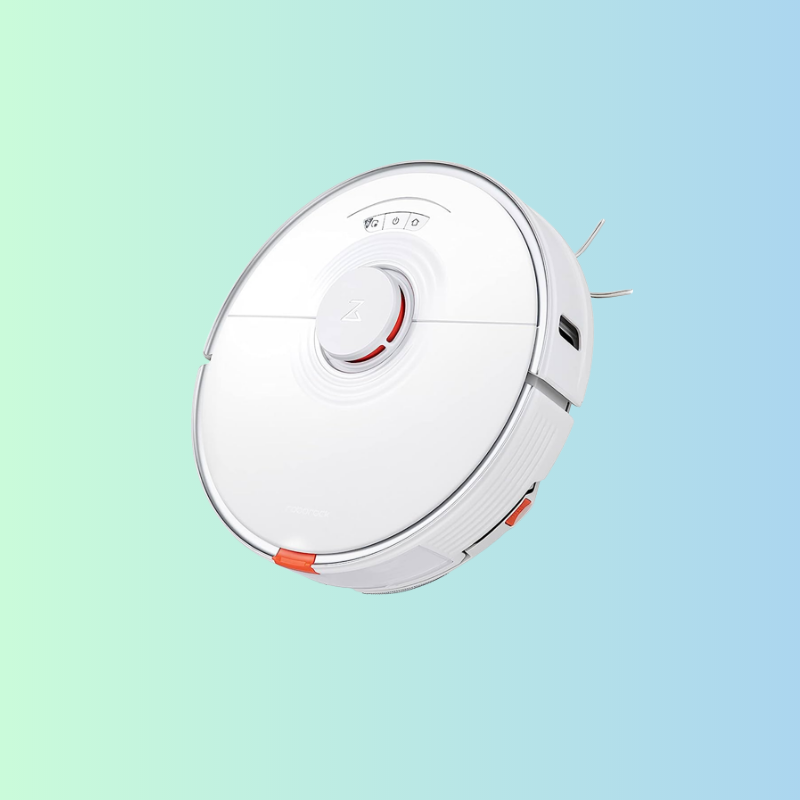
Simply look on the top of your Roborock vacuum for a round or cylindrical piece that protrudes above the rest of the device. It is often placed near the center or slightly towards one side of the robot.
A Step-by-Step Guide to Clean Roborock Sensor
What You Need
- A clean, dry cloth
- A small brush (a toothbrush can work)
Power Off Your Roborock
Step 1: Complete Cleaning
Let the Roborock complete its cleaning cycle. Interrupting the cycle may leave some areas uncleaned.
Step 2: Return to Dock
Once the cleaning is finished, command the Roborock to return to its charging dock. It will navigate its way back and start charging once it’s docked.
Step 3: Long Press Power Button
On most Roborock models, there is a power button on top of the unit. Long press this power button for about 3-5 seconds.
Step 4: Lights Off Confirmation
Upon pressing the power button, you’ll notice that the lights on the vacuum will turn off. This is a sign that the vacuum is now powered off.
Step 5: Unplug If Necessary
If you need to clean or move the vacuum, or if you won’t be using it for a long period, you can unplug the dock from the power outlet for added safety.
Locate the Sensor
Step 1: Ensure Safety
Before you start looking for the sensor, make sure your Roborock is turned off. This will prevent any unexpected movements of the machine while you’re trying to find the sensor.
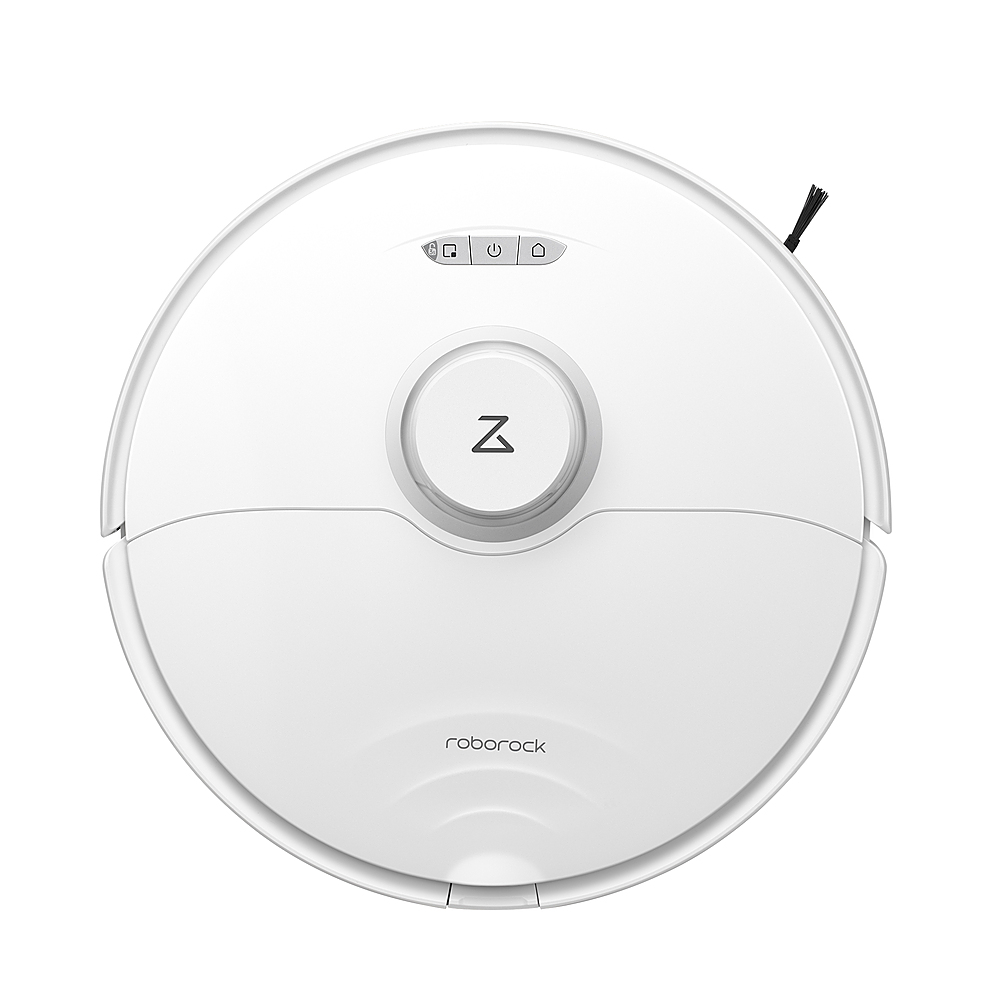
Step 2: Identify the Upper Surface
Look at the upper surface of the Roborock. This is typically where the sensor is located.
Step 3: Locate the Turret-Like Structure
Find the turret-like structure or tower on the top surface of the Roborock. It’s often the part that rises slightly above the rest of the machine. This structure is designed to house the Lidar sensor (the robot’s “eye”) that helps it navigate your home.
Step 4: Spot the Sensor
The sensor itself often looks like a small, black lens within that tower-like structure. It is this piece of technology that rotates and scans your home to help the Roborock create a map of the surroundings for efficient cleaning.
Clean the Sensor
Step 1: Prepare Your Cleaning Cloth
Ensure that your cloth is clean and dry. Any dust or moisture on the cloth could potentially harm the sensor.
Step 2: Approach the Sensor Gently
Approach the sensor gently, just like you would when cleaning eyeglasses or a camera lens. Remember, the sensor is a sensitive part of the Roborock, and rough handling could cause damage.
Step 3: Begin the Wiping Process
Start the cleaning process by gently wiping the sensor with your cloth. Use soft, sweeping motions rather than vigorous scrubbing.
Step 4: Focus on Removing Dust and Smudges
As you wipe, your aim is to remove any accumulated dust, smudges, or fingerprints from the sensor. These can interfere with the sensor’s performance, so it’s important to remove them.
Step 5: Avoid Applying Excessive Pressure
Avoid applying too much pressure while cleaning. The sensor can be quite delicate, and excessive pressure could potentially cause harm.
Check the Sensor
Step 1: Complete the Cleaning Process
Once you have gently wiped and brushed the sensor, finish your cleaning process.
Step 2: Prepare for Inspection
Get ready to closely inspect the sensor. Make sure you have good lighting to see the sensor clearly.
Step 3: Check the Sensor
Now, carefully look at the sensor. You’re looking for a clear and shiny surface, which indicates it’s clean.
Step 4: Look for Remaining Dirt or Smudges
As you inspect, pay close attention to any remaining dust, dirt, or smudges. If the sensor still has visible debris or smudges, it’s not fully clean.
Step 5: Evaluate Your Cleaning
If the sensor looks clear and shiny, congratulate yourself – you’ve done a great job! If not, it indicates that you might need to give it another gentle wipe.
Power On Your Roborock
And now, the moment of truth. Power on your Roborock. If it’s moving around like its good old self, pat yourself on the back. You’ve successfully cleaned the sensor!
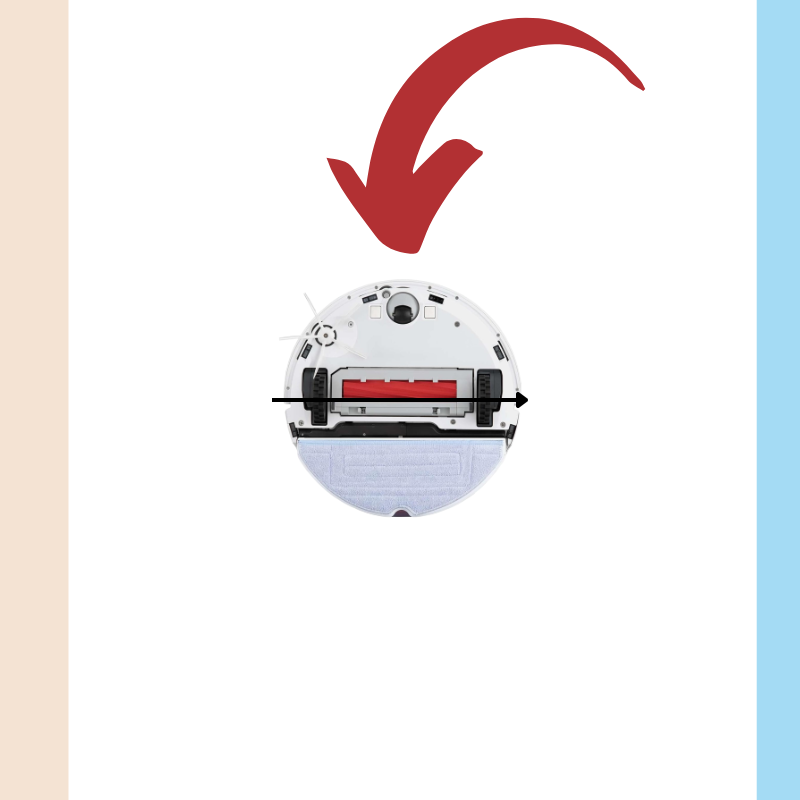
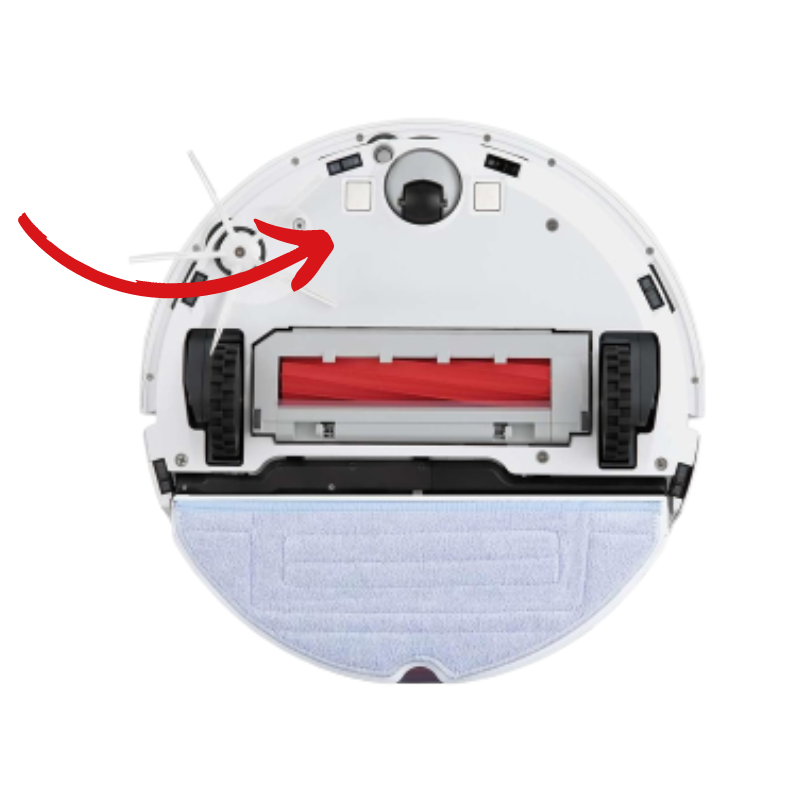
Where is the wall sensor on Roborock?
The wall sensor on a Roborock vacuum cleaner is located on the right side of the device. This sensor plays a crucial role in the device’s navigation system.
It allows the Roborock to accurately measure and maintain an optimal distance from the walls and other large obstacles in your home, ensuring efficient cleaning and avoiding potential damage to your furniture or the vacuum cleaner itself.
How Often Should I Clean Roborock Sensor?
you should clean your Roborock’s sensors approximately once a month. If your home is particularly dusty or you have pets, consider cleaning the sensors every two weeks. Regular cleaning helps maintain the optimal performance of your Roborock vacuum cleaner.


One Comment